Section 1-D · Pages 31–34 (4 pages)
Instrument Panel Assembly
From the 1960 Buick Body Service Manual
Instrument panel compartment box and door removal and adjustment, including repositioning the door at its hinge, followed by instrument panel assembly removal and installation.
Read this section free, starting at page 31What this section covers
- Compartment box removal
- Compartment door adjustment
- Compartment door lock cylinder
- Instrument panel assemblies
- Year
- 1960
- Make
- Buick
- Vehicle
- Passenger Cars
- Models
- LeSabre 4400, Invicta 4600, Electra 4700, Electra 225 4800
- Pages
- 180
What’s inside
Body service manual
- 0Introduction and General InformationExplains how the manual is arranged, the Fisher Body number plate and how to read style numbers, with the body styles for LeSabre, Invicta, Electra and Electra 225. Also covers care of paint, chrome, fabric, folding top and leather seats.pp. 3–5
- 1-AWindshield Assemblypp. 6–11
- 1-BWindshield Wiper Two Speed Assemblypp. 12–26
- 1-CWindshield Wiper Single Speed Assemblypp. 27–30
- 1-DInstrument Panel Assemblypp. 31–34
- 1-EShroud Panel and Ventilating SystemDescribes the body ventilating system with its air intake grille and gives removal and installation of shroud panel and ventilator parts, including side ducts, air outlet doors, side foundation and the windshield lower corner gutter.pp. 35–36
- 2-AFront and Rear Doorspp. 37–46
- 2-BCenter PillarDescription and servicing of the center pillar trim, which is cemented to the pillar and covered by pinchweld finishing moldings, including the cap sealed with body caulking compound.pp. 47–47
- 2-CFront Doorspp. 48–62
- 2-DRear Doorspp. 63–77
- 3-ARear Quarter Trim and Hardwarepp. 78–87
- 3-BRear Quarter Panel SealingSealing procedure for the rear quarter panel, paragraph 3-6, to keep water out of the body.pp. 88–90
- 4-ABack Windowpp. 91–97
- 4-BRear CompartmentRear compartment lid and hinges with the two torsion rods that counterbalance the lid, the rear compartment lock and lock cylinder, striker adjustment and the rear compartment weatherstrip.pp. 98–100
- 4-CEstate Wagon Tail Gatepp. 101–115
- 6-AHeadlining AssemblyHeadlining formed to the roof by concealed listing wires, secured with cement, tacks, staples or a pronged retainer. Gives removal and installation steps and the hardware to remove first, using headlining inserting tool J-2772.pp. 116–118
- 5Bucket Type Front Seats (Page 5-10 Only)A single stray seat page, 5-10, from Group 5. It covers bucket seat-to-floor pan attachment, driver's seat adjuster, gearnut and jackscrew removal, and the actuator motor of the power seat.pp. 119–119
- 6-AHeadlining Assembly (Repeated Pages)A second copy of the Section 6-A headlining pages, repeating the description and the removal and installation of the headlining with listing wires.pp. 120–122
- 7-AFolding Top General InformationCare of the convertible top assembly: safety precautions on operating the top, care of the plastic rear window and cleaning of the top material with soap suds or a foaming cleanser.pp. 123–124
- 7-BOperation of Folding Toppp. 125–128
- 7-CRoof Rail WeatherstripsFront, center and rear weatherstrips along each folding top side roof rail, attached with nuts on integral studs, with the servicing procedure and sealing of the ends.pp. 129–130
- 7-DFolding Top AdjustmentsAdjustments of the folding top frame and its fit to the windshield header and body.pp. 131–132
- 7-EFolding Top Trim Assemblypp. 133–140
- 7-FBack CurtainRemoval and installation of the back curtain assembly and of the back curtain plastic window only, including detaching trim sticks and the top compartment bag.pp. 141–142
- 7-GHydro-Lectric Systempp. 143–148
- 8-ABody Wiringpp. 149–155
- 8-BPower Window Circuits and Trouble Diagnosispp. 156–159
- 8-CPower Seat Circuit and Trouble DiagnosisPower seat circuits for the horizontal and six-way seats, with wire color and gauge table and trouble diagnosis of the seat switch block and the front and rear vertical and horizontal motors.pp. 160–162
- 9-ABody Parts Lubricated Twice a YearLubrication points serviced twice a year: door hinge hold-open clips, lock strikers, rear compartment lid lock bolt, folding top linkage, jamb switch, torque rods, sunshade rods, lift cylinder piston rods and seat adjuster retainer.pp. 163–165
- 9-BBody Parts Lubricated When AccessibleParts to lubricate when reachable: door lock outside handles, door window regulators and cams, rear quarter window cams, door lock parts and the door locking mechanism rod pivots.pp. 166–167
- 10Exterior Moldingspp. 168–177
Tools and index
- Body ToolsList of special body tools by J-number, including the weatherstrip clip inserter J-5757, clip reformer J-5984, trim nut wrenches and molding clip pliers J-7160.pp. 178–178
- Alphabetical IndexAlphabetical index of the manual's procedures with page references, from adjuster and arm rest to window and windshield entries.pp. 179–180
Other manuals for this vehicle
 1929Specifications1929 Buick Detailed Specifications
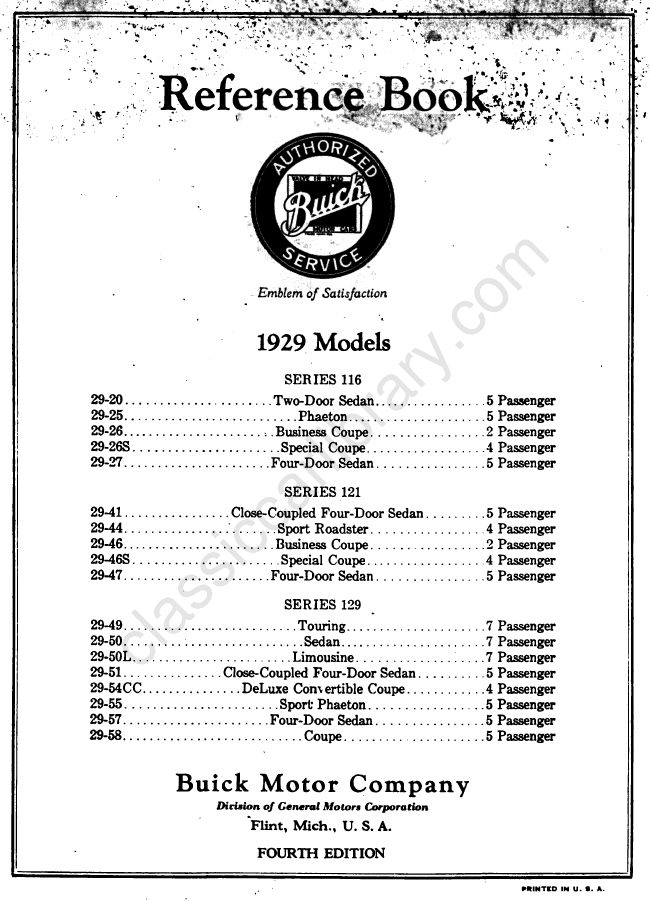 1929Owner's Manual1929 Buick Reference Book (Owner’s Manual)
 1933Service Manual1933 Buick Shop Manual
 1934Service Manual1934 Buick Series 40 Shop ManualBPS-1.19
 1934Service Manual1934 Buick Series 50 60 90 Shop ManualBPS-1.18
 1940Parts Catalog1940-1972 Buick Chassis and Body Illustration Catalog
 1940Parts Catalog1940–1955 GM Automatic Transmission Parts Catalog A-3010A-3010
 1942Service Manual1942 Buick Shop ManualBPS-1.27