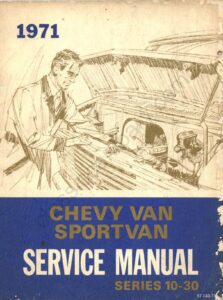
Section 12 · Pages 248–270 (23 pages)
Electrical: Body and Chassis
From the 1971 Chevy Van and Sportvan Chassis Service Manual
Lighting system with headlamp adjustment and replacement of the light, stoplamp, dimmer, neutral start and backing lamp switches; instruments and gauges; directional signals; windshield wiper and washer, including wiper motor circuits; and wiring diagrams.
Read this section free, starting at page 248What this section covers
- Headlamp adjustment and marker lamps
- Light, stoplamp, dimmer and backing lamp switches
- Instruments and gauges
- Directional signals
- Windshield wiper and washer
- Wiring diagrams
- Year
- 1971
- Make
- Chevrolet
- Vehicle
- G Vans, Light Duty Trucks, Trucks
- Type
- Service Manual
- Models
- Chevy Van / Sportvan G10–G30
- Publication
- ST-140-71
- Pages
- 290
What’s inside
Service manual
- 0General Information and Lubricationpp. 3–18
- 1AHeaterpp. 19–26
- 1BBodypp. 27–47
- 2FrameUnderbody alignment for the integral frame rails, cross sills and outriggers, checked with a tram gauge to within 1/16 inch, and repair of excessive body damage.pp. 48–49
- 3Front Suspensionpp. 50–59
- 4Rear Suspension and Drivelinepp. 60–78
- 5Brakespp. 79–106
- 6Enginepp. 107–145
- 6KEngine Coolingpp. 146–149
- 6MEngine Fuelpp. 150–162
- 6TEmission Control SystemsPositive crankcase ventilation, the Controlled Combustion System, evaporation emission control and Transmission Controlled Spark with its solenoid and temperature override switch.pp. 163–164
- 6YEngine Electricalpp. 165–193
- 7Truck Clutches and Transmissionspp. 194–220
- 8Fuel Tank and Exhaust Systemspp. 221–226
- 9Steeringpp. 227–237
- 10Wheels and Tirespp. 238–243
- 11Front End Sheet Metalpp. 244–247
- 12Electrical: Body and Chassispp. 248–270
- 13Radiator and GrilleRadiator removal and installation for six-cylinder and V8 engines, and grille service.pp. 271–271
- 14BumpersRemoval and installation of the one-piece front and rear bumpers, brackets, braces and license plate support.pp. 272–272
- 15AccessoriesRadio removal and installation, and speaker replacement through the engine cover opening.pp. 273–273
Specifications
Other manuals for this vehicle
 1967Service Manual1967 Chevrolet Truck Series 10–60 Chassis Service ManualST-133-67
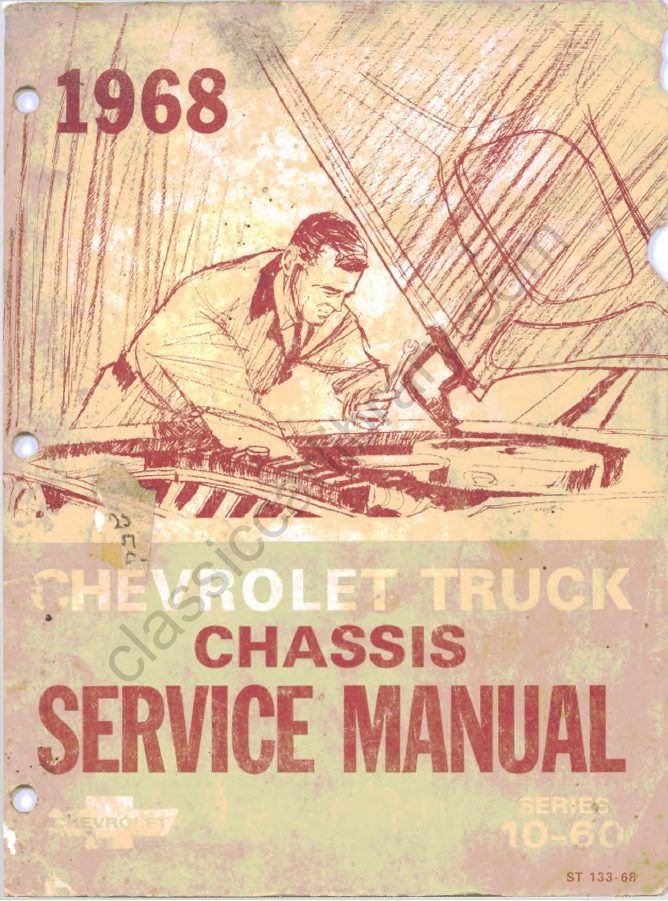 1968Service Manual1968 Chevrolet Truck Chassis Service Manual, Series 10–60ST-133-68
 1972Service Manual1972 Chevy Van and Sportvan Chassis Service ManualST-140-72
 1973Service Manual1973 Chevrolet Light Truck Service ManualST-330-73
 1974Service Manual1974 Chevrolet Light Truck Service ManualST-330-74
 1974Wiring Diagrams1974 Chevrolet/GMC C/K and G Truck Wiring DiagramsST-352-74
 1975Supplement1975 Chevrolet Light and Medium Duty Truck Wiring SupplementST-352-75
 1975Overhaul & Unit Repair1975 Chevrolet Light Truck Service Overhaul SupplementST-330-75